Adding a new Image Gallery to your website
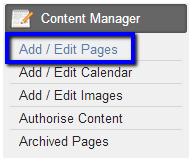
1. From the Content Manager section of HQi, select the Add/Edit Pages option in the left hand navigation menu.
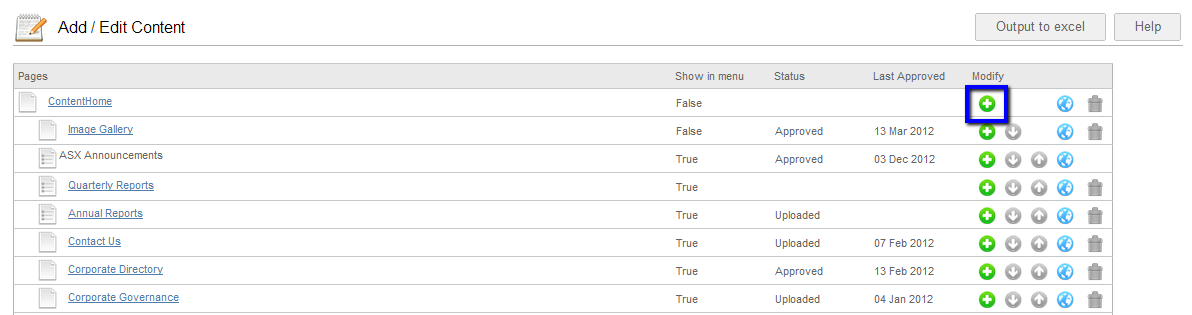
2. Select the location for the new Image Gallery e.g. Projects section. Once you have done this, select the add new page green + button on the right hand side.
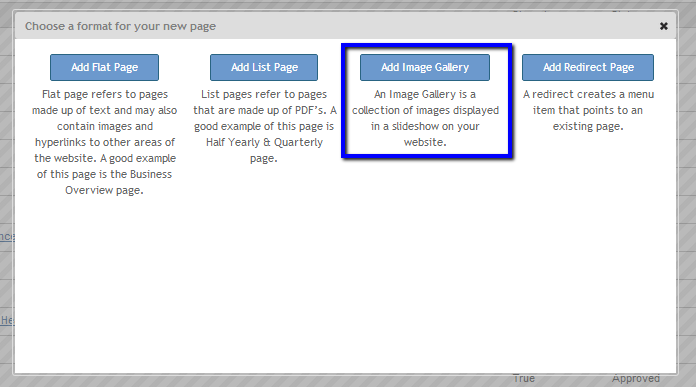
3. After selecting the add new page button a pop-up menu will appear asking what type of page you would like to add. Here, select Add Image Gallery
4. You will be then be transferred to the following page; from here you can set up your Image Gallery page.
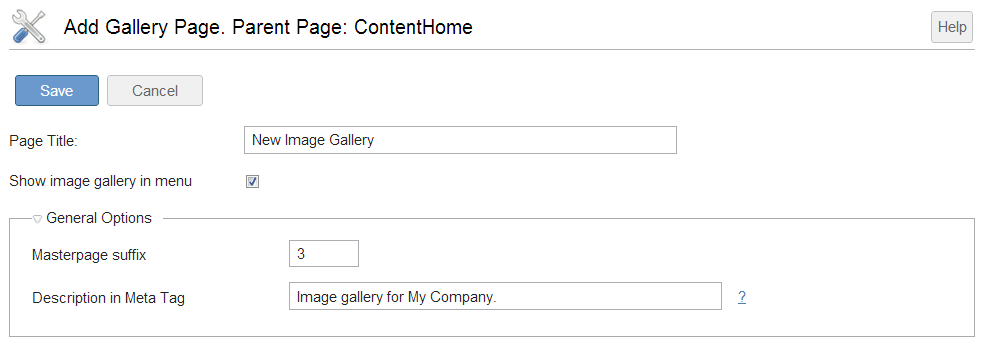
5. Page Title field is the name of your image gallery page i.e. how it will appear within your website navigation.
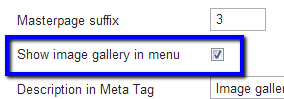
6. By selecting the checkbox next to Show image gallery in menu, the Image Gallery will automatically be displayed within HQI and your website navigation.
Please note, you can leave this button un-ticked whilst loading initial content onto the page. Once all content is complete, you can re-tick this button by accessing it via the blue icon on the Add/Edit Pages area and allow the page to be accessed from the live navigation.
7. Once you have entered these details, click the blue Save button at the top of the page.
You will be taken back to the Add/Edit Content section of HQi where you will now be able to see your new Image Gallery page within the menu.
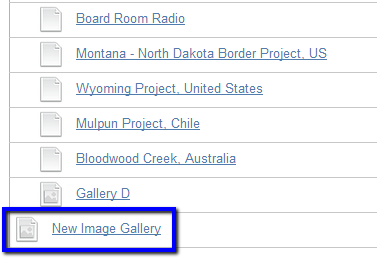
8. Select your new Image Gallery page to add images to your gallery.
 To add images to the image gallery you must have already uploaded these to the website using the Add/Edit images tool. These steps are explained above in 2.5 – Adding an image to a flat page.
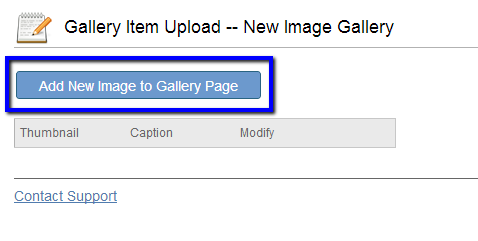
9. Click on the blue Add New Image to Gallery Page button.
10. You will then be taken to a page of all your uploaded images (see below) From here you can select the images you would like to add to your new gallery.
You can add multiple images from the gallery by selecting the tickbox on the left hand side of the image.
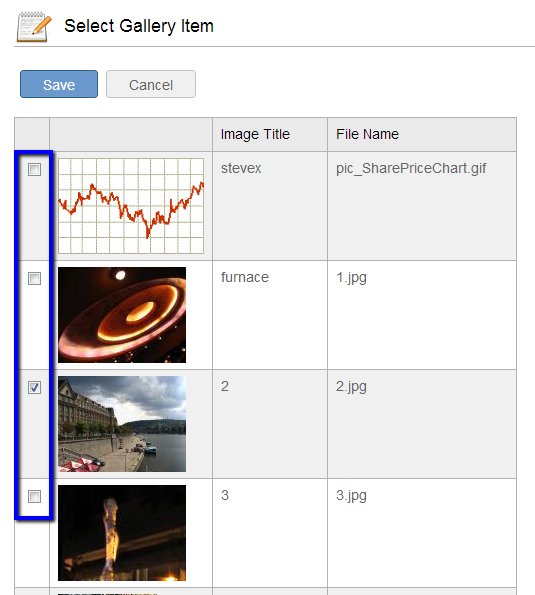
11. Once you have selected all of the images you wish to use in the gallery, Select the blue Save button located at the top of the page.
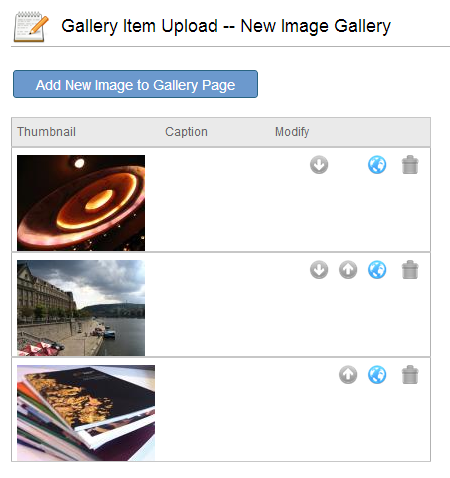
12. Once you have selected Save you will be shown the images you have selected for your gallery. On this Gallery Item Upload page you can rearrange the order of the images using the up and down arrows.
From here you can also add captions to your images (using the blue icon, see details below) or delete an image.
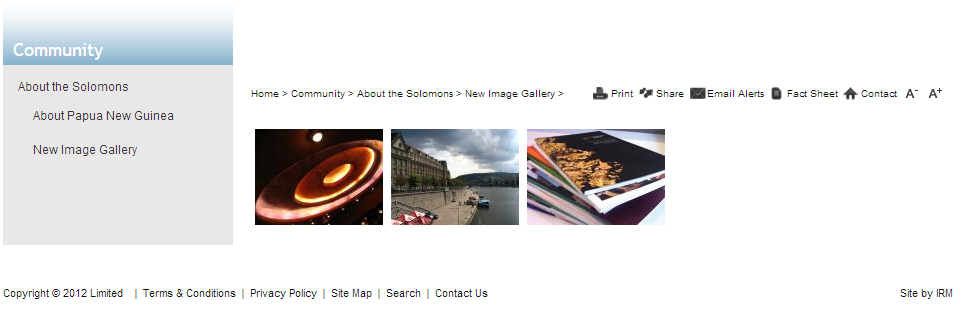
13. These images have now been uploaded to your new Image gallery page; these will also be visible on your website.


 Email Alerts


