Adding, editing and removing content
1. When you select the Add/Edit Pages button under Content Manger, you will see a list of all the pages which exist within your website navigation.
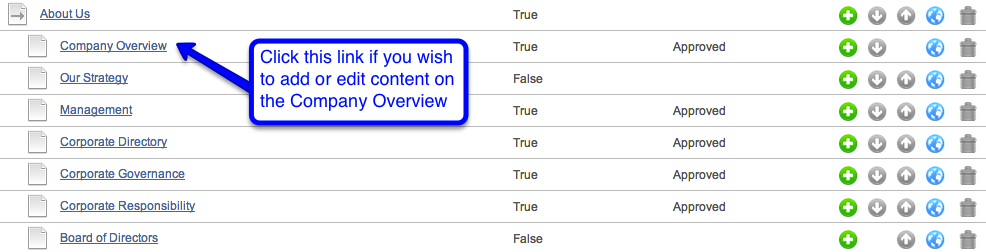
See below an example of the About Us section as it appears within HQi.

2. To add, edit or delete content, select the link for the relevant page
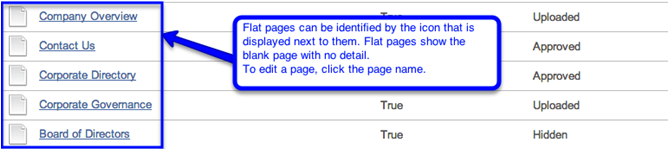
3. Page types are identified by the icon next to them. Flat pages display the blank page icon as shown below.
Updating/Editing content on a Flat Page
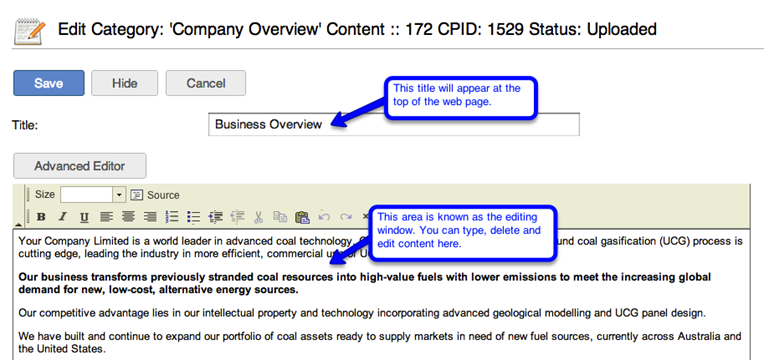
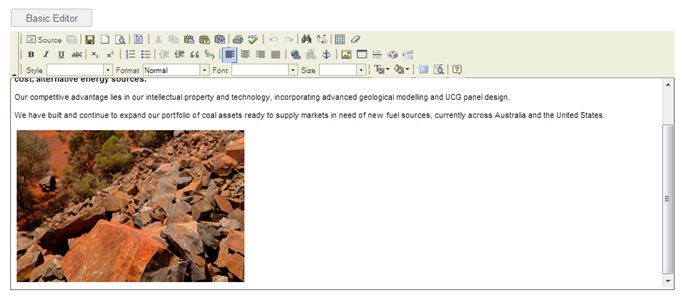
1. To edit a flat page, select the Add/Edit Pages within the Content Manager section. Select the page you wish to edit, you will then be transferred to the following page (below).
In this example we will use the Business Overview page.
There are two types of editors that can be used when updating content on a flat page:
Basic Text Editor – This editor allows you to bold, italic, underline text, align, increase/decrease size, add tables and hyperlinks.

Advanced Text Editor - this provides additional features such as change colours and spell check.

 When copying content from an external source, you must copy and paste the content into a Notepad file which is located under All Programs/Accessories on your hard drive. The text can then be copied from Notepad and pasted into the editing window. Failure to complete this step will affect the style sheets used on the website, which keep the look of font size and style consistent across your website.
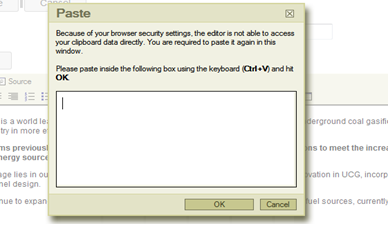
2. Once the editing window appears you can add new content to the page by typing or you can edit existing. If you wish to copy and paste content into the editing window, a pop-up box will appear to paste your text into. Once you have pasted the content, select OK.
3. Once you have made all your content updates/additions, select the Save button at the top of the page.
To exit the page without saving changes select Cancel. If you would like to hide the content from the website, select the Hide button.
4. Once you have clicked the Save button. You will need to authorise the changes you have made by selecting Authorise Content from the Content Manager section. See below for instructions on authorising content.
Adding an Image to a Flat Page
Images in the content area of the page can be added and edited using HQi. To add/edit any images outside of this area you will need to contact your Account Manager.
 Important Note
You will need to resize your image before uploading to your website, as it will be displayed on the page in exactly the same size that it is uploaded.
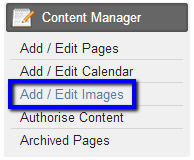
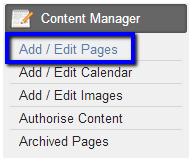
1. Under Content Manager select Add/Edit Images in the left hand navigation options.
2. On the next screen, you will see a Add New Image button. Select this button.
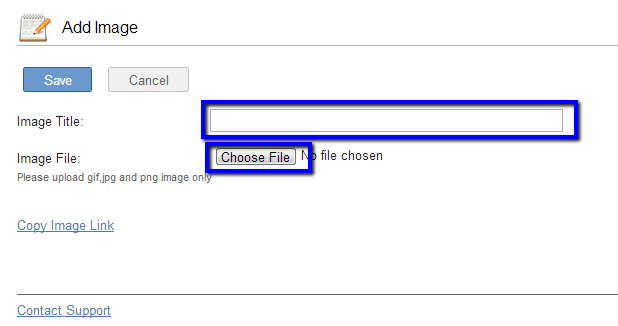
3. The below screen will then appear. Enter your Image Title and select the image you want to upload by clicking the Choose File button.
Important Note
You will need to ensure that the image you are uploading is saved as either a JPEG, PNG or a GIF in order for it to be uploaded successfully.
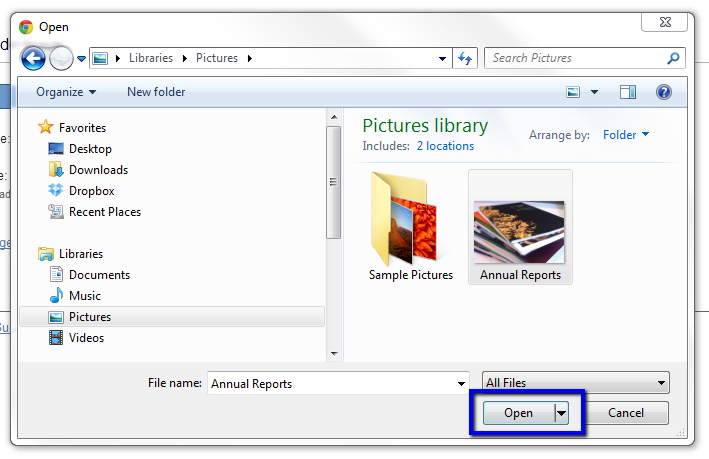
4. Once you have selected the Choose File button a window (below) will appear asking you to select the image that you wish to upload. Select the image you wish to upload and click Open.
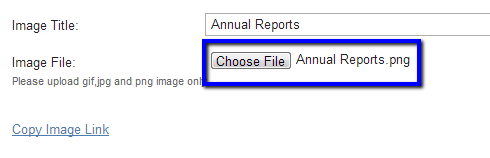
5. The image file name will then appear next to the Choose File button.
6. Once you have added the Image Title and Image File, select the Save button at the top of the page. This will save the image and redirect you back to the Add/Edit Image page (see below); on this page you will now see the image that you have uploaded within the Add/Edit Image table.
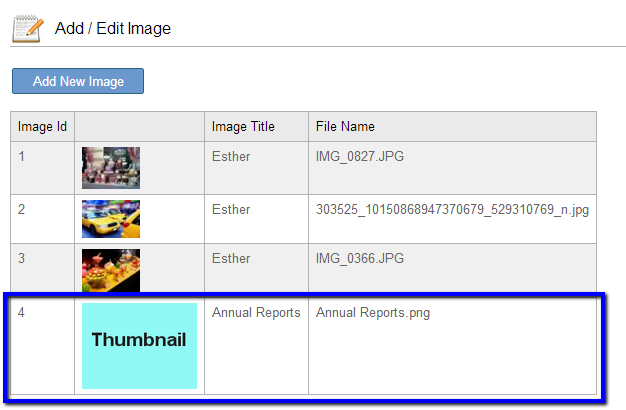
A placeholder Thumbnail image (see above) will be used until you refresh the page
After refreshing the page your thumbnail will appear (see below).

7. On the Add/Edit Image table, you will see a Copy Image Link. Select this link and copy the URL.
See example below.
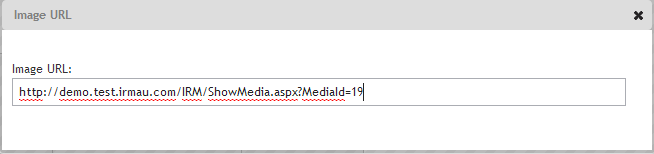
8. In a new browser, paste the URL into the address field. The image that you uploaded will appear within your browser.
9. Keep the browser that is displaying your image open and go back to HQi.
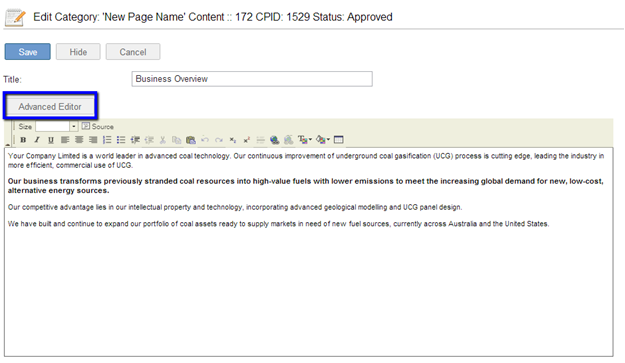
10. Select the Add / Edit Pages option under the Content Manager section and select the page that you wish to add your image to.
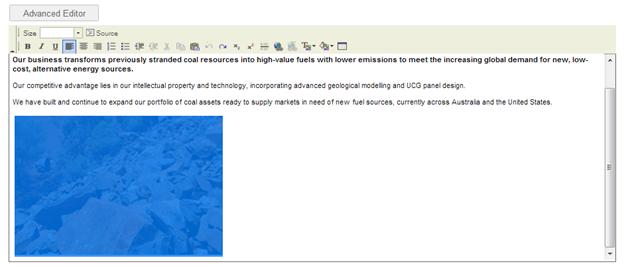
11. After selecting this page you will see the editing window appear, select the Advanced Editor button.
Important Note
Do not hit the Hide button at the top of the editing window.
Selecting Hide will cause this page to be removed from your website and it in its place display an error message or blank page. If this happens, please select the Unhide button or contact IRM.
12. After selecting the Advanced Editor button, more options will become available in the editing window. To add an image to this page select the image icon, shown in the blue box below.

13. Once you have selected the image icon, the following window will appear:
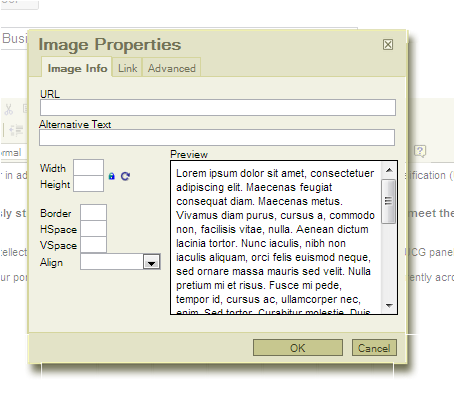
14. Now paste the URL that you copied into your browser in the URL field. Once you have done this, select the preview box and the image will appear.
15. Select OK and the image will be added into your page.
16. Once you are finished adding images to the page, select the Save button at the top of the page.
17. To send the changes live, select the Authorize Content section from the left menu, then on the next screen, click Approve/Reject next to your last change. After reviewing, you can go on to either Approve or Reject the change.
To add extra images to the page or another flat page, simply repeat the above steps.
Deleting Content or an Image from a Page
1. Under the Content Manager section on the left hand side navigation bar, select the Add/Edit Pages link.
2. Select the page that you want to delete content or an image(s) from.
3. Select the content or image you wish to delete by clicking on it once using your mouse button or you can simply highlight the content or image.
You will be able to tell it is selected as the content or image will be highlighted blue, as shown below when attempting to delete the image on the page.
4. You can then delete the image by selecting the backspace or delete key on your keyboard.
Important Note
Do not hit the Hide button at the top of the editing window.
Selecting Hide will cause this page to be removed from your website and it in its place display an error message or blank page. If this happens, please select the Unhide button or contact IRM.
5. Once you are finished removing the content or image (s) from the page, Select the Save button at the top of the page. You will need to authorise the changes you have made by selecting Authorize Content from the Content Manager. See below for instructions on authorizing content.


 Email Alerts


